


@sis
You stand back, fold your arms and feel good. You’ve completed your design and you want to pat yourself on the back and show the world what you’ve created. Unfortunately, you’ve done the one thing you shouldn’t do as a good user experience designer and that’s fall in love with your idea.
We are no longer in a market where we can afford ourselves time to perfect a product, to wait a year before something goes out to our users. We can look to the mobile channel to appreciate how fast things are changing, within a year, material design took shape and really disrupted a lot of thinking and behaviors for apps and overall usability. Choices in your design that were made a year ago may be no longer relevant.
The trick? Keep your idea non-committed and as lean as possible. The more time you spend on an idea without consulting your users, the more you’ll fall in love with it. This is not a new concept, but something we need to keep in mind as user experience designers. If you take too much time on your idea, the market will change and your best guess is just that. All you can do at that point is hope that your guess was right.
So what do you do? How can you make sure that your prototype starts out on the right path? Be sure to align your stakeholders and user stories as soon as possible. A lot of companies claim to be user-centered, but in reality, most businesses have a need or an idea that they feel passionate about and they will spend countless hours debating it. When they finally decide on a direction, they ramp up a team and build it. Most of the time, this process can be long and drawn out with new ideas and scope creep finding its way into a project and all along the way they never asked or consulted with their customers. By the time the product reaches the market, their customers may have changed their behaviors because the world around them never stopped.
But you might argue, “Prototypes, research and usability tests? Those are always so expensive.” Not so. Create a process where you can afford to fail in the cheapest way possible in the shortest amount of time. You must allow yourself to move quickly and fail often while learning along the way. Post-It notes and a pencil are a User Experience designers best friend. Keep your designs simple, without design flair and be sure of what goals you are trying to reach. Doing so will keep your prototype focused and free of unnecessary features. It will give you the opportunity to get into testing right away. Keep in mind, once you get to a point where Post-It notes cannot communicate the idea, then you’ll need to move into a more interactive prototype. This still can be done efficiently with tools like Axure, Balsamiq or straight up HTML.
As User Experience designers, we love what we do. There’s great satisfaction in stepping back and knowing you had a hand in building something that accomplishes a goal or helps a customer, but remember, never fall in love with your designs.
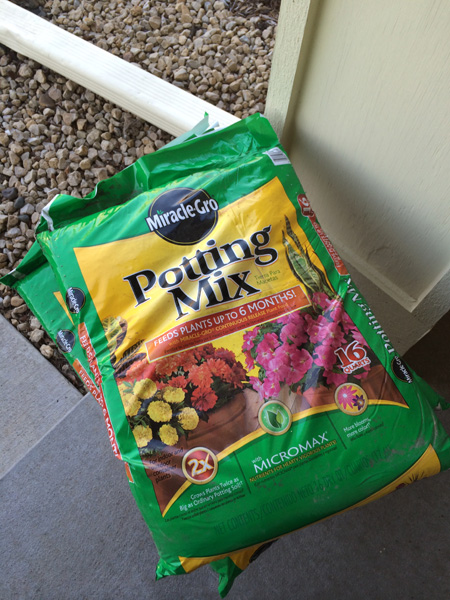
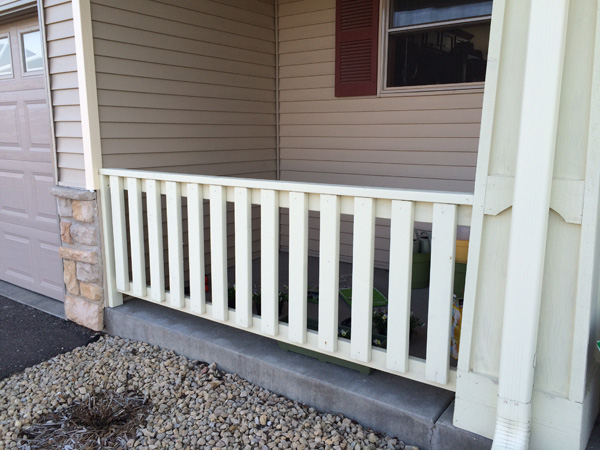 Step 2: Make a run to your local garden center. I chose Walmart cause it was just down the way. WRONG! I know from my experienced folks that
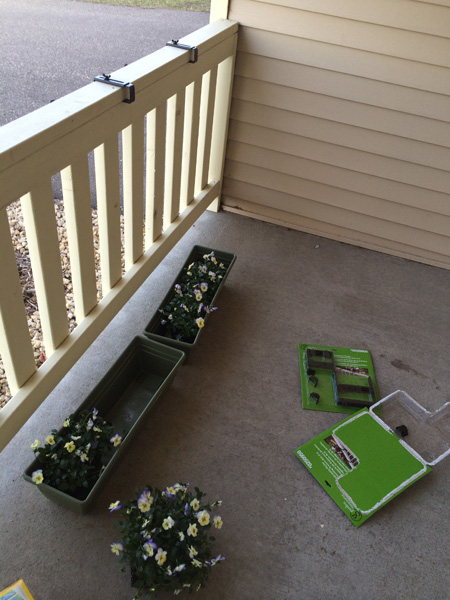
 Step 3: Stop and get
 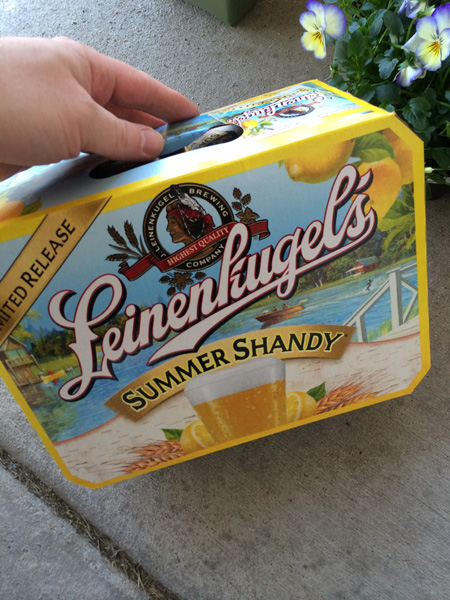 Step 4: Open a Summer Shandy and drink. You have to get in the right frame of mind. Vincent van Gogh did absinthe…
 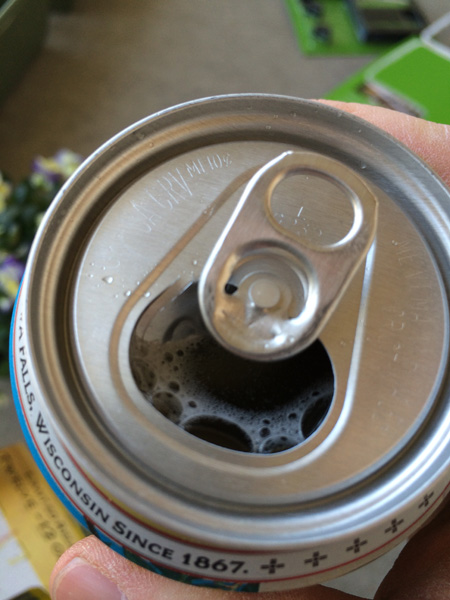 Step 4: Your trays. Now I noticed they didn’t have drain holes. This is important. You don’t want your water sticking around, either it gets used by the plant or it lingers and creates a moldy environment. It’s fact. Look it up.
  Which is ok, cause that means you can get out your power tools.
 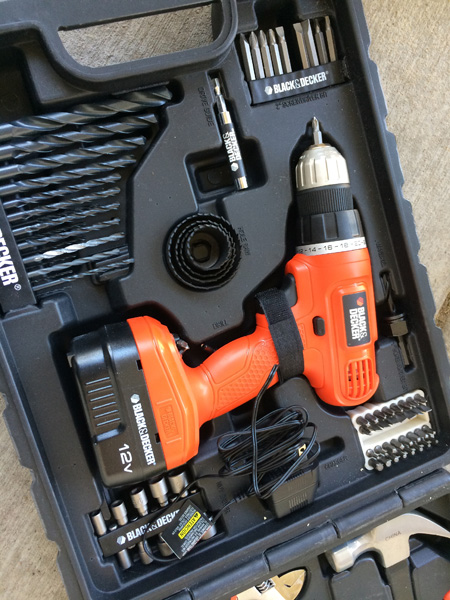 Now you don’t want to put too large a bit on. Something small enough for the water to drain. Otherwise your dirt will fall out and too much water may drain out or something… Here’s a bit that worked. I did not have a banana for scale, but it was somewhere in the /32nds or /8ths.
 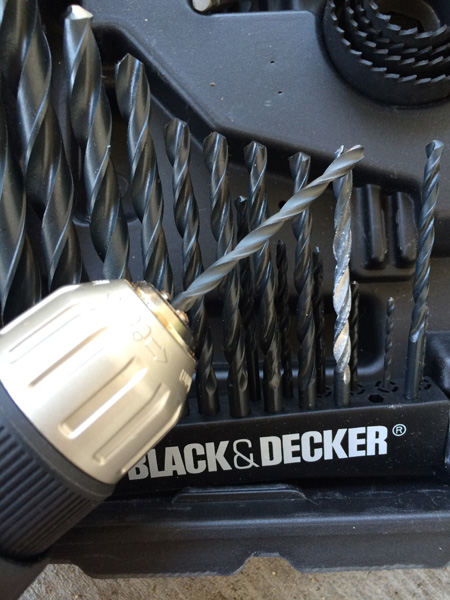 Step 5: Drill them holes. (Reminder, you’ve got beer, so you should be sipping along the way.) I made a pattern of sorts.
 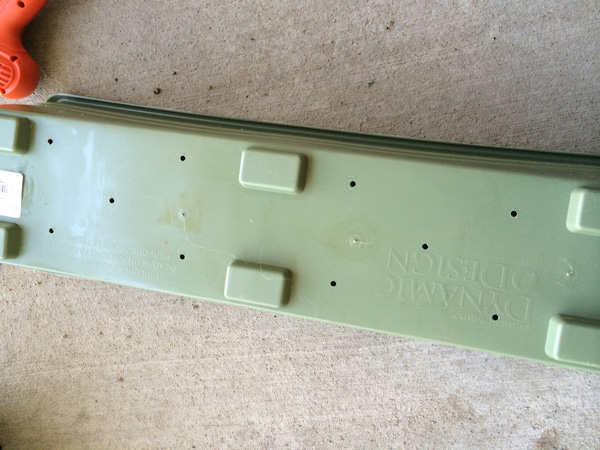 Crap. It wasn’t until I was ready to put in the dirt that I realized these trays had little pockets in them. Water for sure would go there. Oh well, noted for next year.
 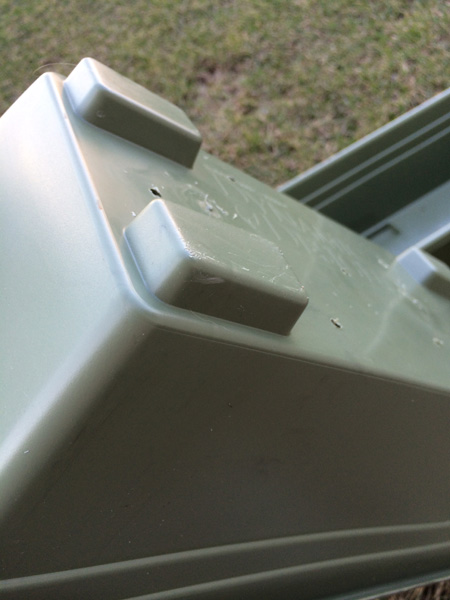 Step 6: Put the dirt in. How much? Well enough so the flowers stick out the top. We can play that by ear when we start putting the flowers in.
 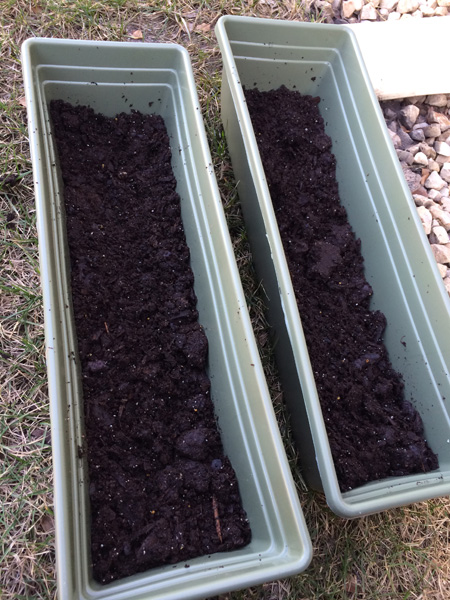 Step 7: Break them flowers out of their containers. Note: this is tougher than it looks. Like really tough. It took me quite awhile to figure this out. I started tearing it up good.
 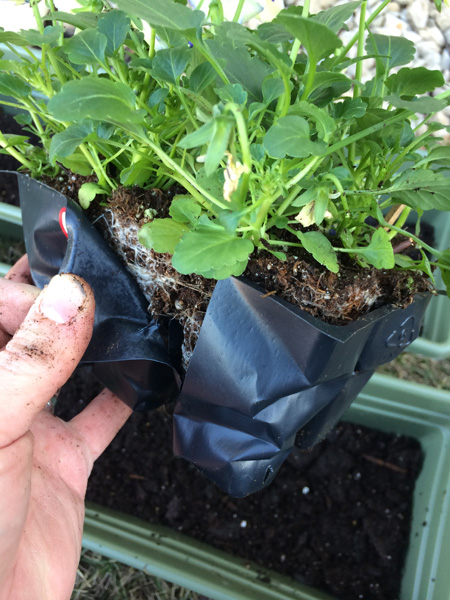 I found a system that worked. Tearing the sides and then grabbing the base of the plant just at the dirt level and slowly pulling it out. Be careful, you don’t want to rip it from its roots.
 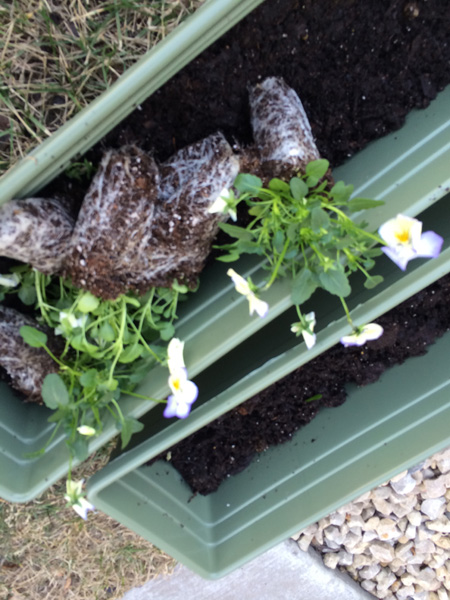 Step 7: Take a break. At this point you realize what you got into and you’ll need a break. Don’t get too anxious or frustrated. Remember, it’s not drag and drop, click, edit or delete. You’re working with nature here. It takes some care and patience. You’re trying to relax and enjoy the outdoors.
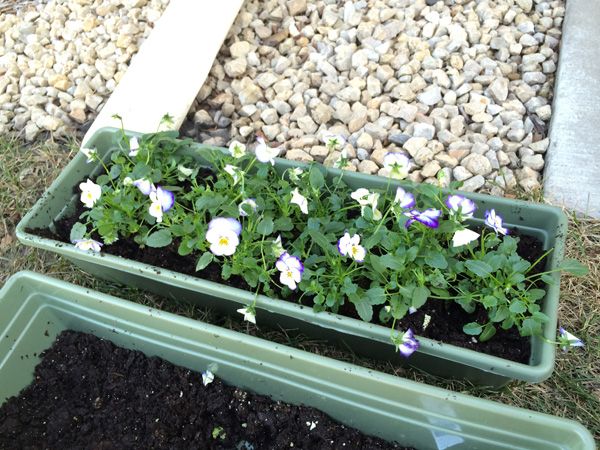 I noticed that the divot idea was not working so quickly, so I made three large divots to see if that would work. At this point I was getting a bit anxious to complete this project.
 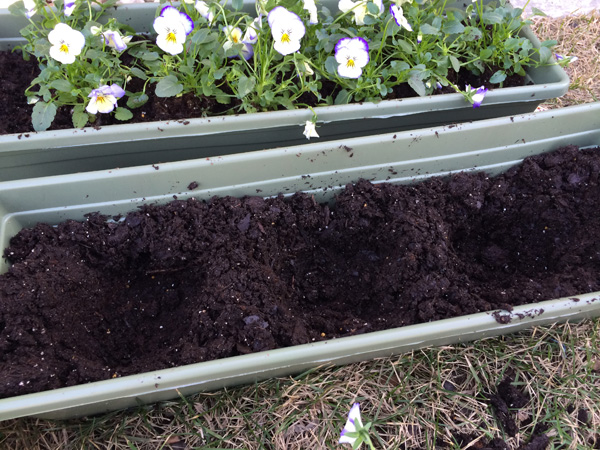 That didn’t work so well. So I went back to individual divots.
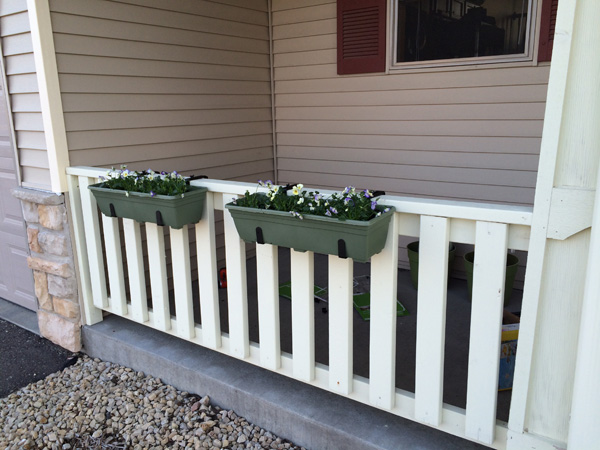 Step 11: Extra flowers. I had extra, so I cleaned out a pot and put them in there. Again, do some math or some layout stuff and plant them. Do it quick though, cause by this point you may just toss them in the trash if you don’t hurry.
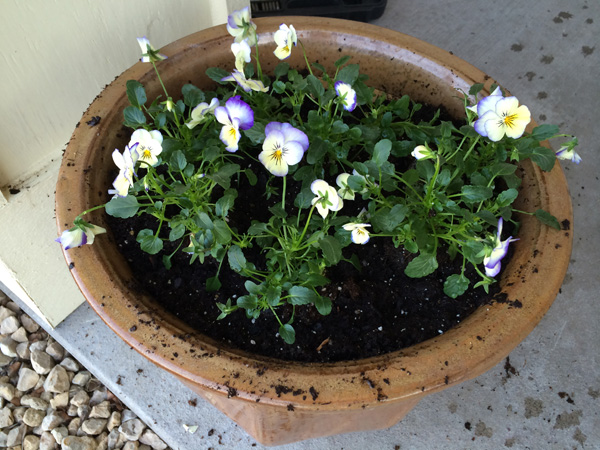 Step 12: But wait! We are not savages. We’re Gordon Ramsey, we gotta make this presentable. Get a paper towel and clean the edge of the pot.
 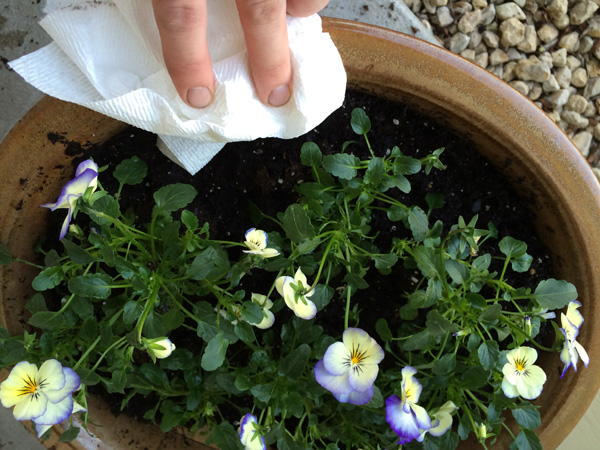 Looks good.
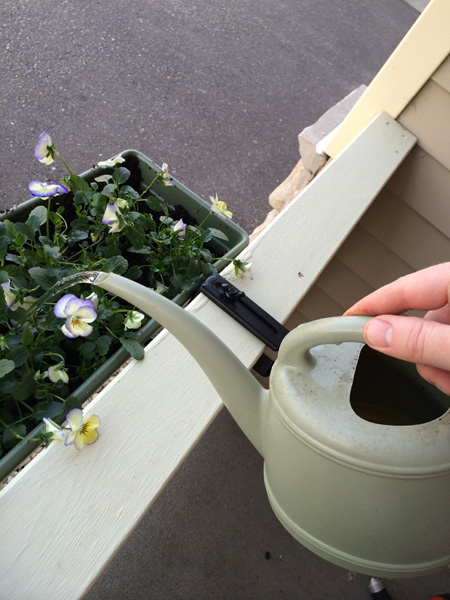 Step 14: Trash. Looks like the plants came with some instructions. You can read those if you want, but hey, we’ve all been to IKEA, we know how this stuff works.
  Step 15: Put your tools away and sweep. I did my work mostly on the yard so I didn’t have a lot of dirt to sweep, but you may have to. Also, if you put your tools away, they’ll be there next time you need them.
  Step 16: Enjoy your work! Grab another Summer Shandy,
 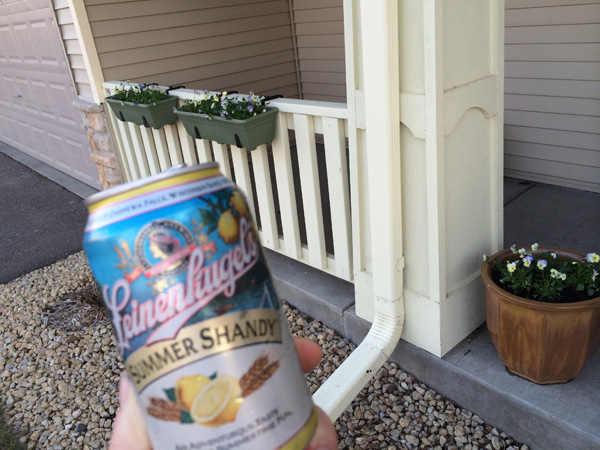 Don’t waste the summer on that laptop. Get your hands dirty. Whether with dirt, sawdust, clay or a sand castle. It’ll help you be a better designer on the web and reset your brain so that Monday can be awesome. Enjoy the summer kids.