It’s been a fast paced few years. The web has consumed a lot of my time unfortunately. No doubt I’ve learned a lot and the amount of experience and knowledge can’t be found in a book or classroom. I’ve worked with some awesome teams, PressEnter!, Spyder Trap, and now enveloped in an Omni-Channel UX team at Best Buy. One thing that has been overlooked that has gotten me to where I am is the physical world…the non-digital space. I used to draw every night since I was very young. My teachers would always wonder where my homework was, instead I’d spend time drawing.
However, I haven’t done that in years and that’s a terrible thing. Today it finally got nice out. This has been an overly harsh winter in Wisconsin/Minnesota. A lot of factors make it cold and dark, but today was a day that was bright, sunny and warm. I shut down my laptop and ventured out into the real world to do some art.
Which brings me to today’s tutorial. How to enjoy the outdoors as an interactive designer or something to that effect. You could also title it, spring/summer therapy.
Step 1. A Canvas You’ll need a space to fill. Below is an area that is sort of a blank canvas in front of my townhouse. It needed something, what better thing then some flowers or plants. Life is awesome, so why not help it along by planting something. 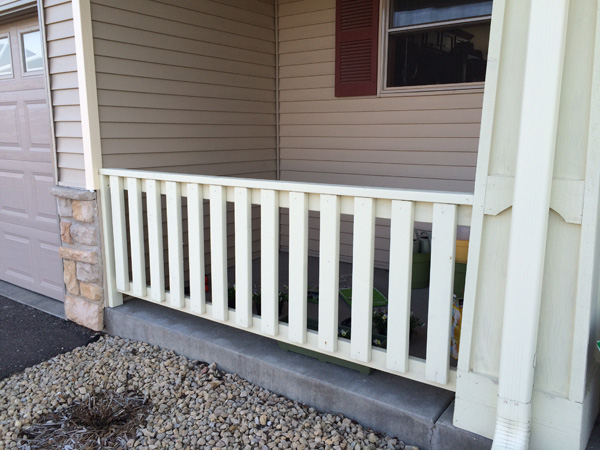 Step 2: Make a run to your local garden center. I chose Walmart cause it was just down the way. WRONG! I know from my experienced folks that Lowe’s is the way to go. But I denied that cause I was lazy, Walmart had nothing for hanging flowers over the edge of the rail. So Lowe’s it was. And it proved fruitful! However, I ended up with only Violas, a perennial plant since it’s still quite a bit early in the season for this work.
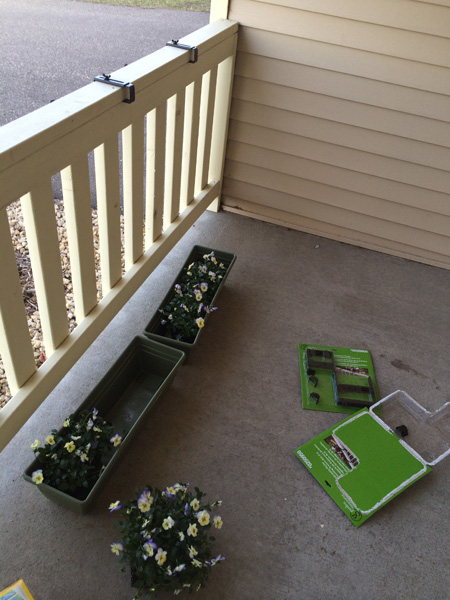
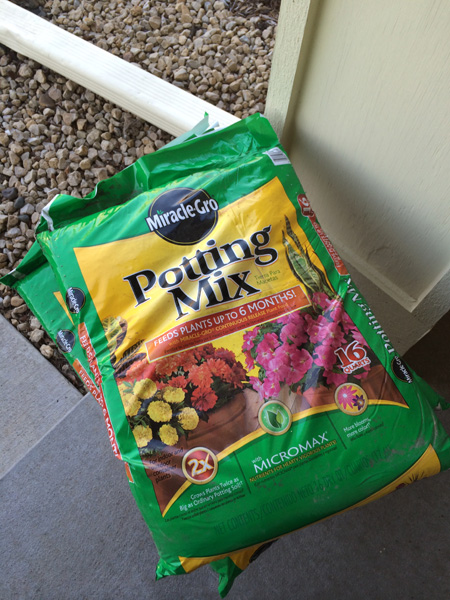 Step 3: Stop and get Leinenkugel’s Summer Shandy. It’s officially spring/summer when you can open this. Best enjoyed golfing, grilling… but this works to. As long as you’re outside and working with tools.
 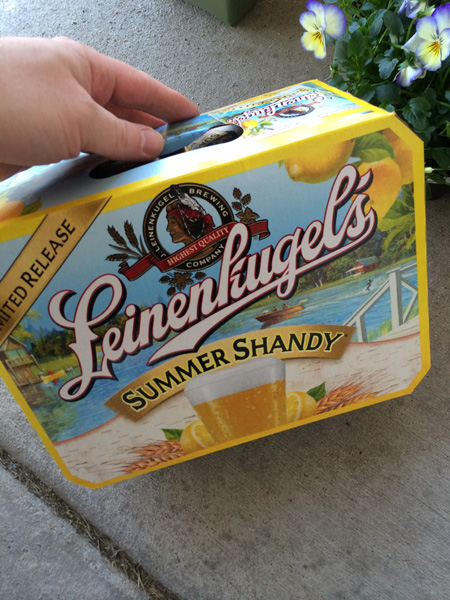 Step 4: Open a Summer Shandy and drink. You have to get in the right frame of mind. Vincent van Gogh did absinthe…
  Step 4: Your trays. Now I noticed they didn’t have drain holes. This is important. You don’t want your water sticking around, either it gets used by the plant or it lingers and creates a moldy environment. It’s fact. Look it up.
  Which is ok, cause that means you can get out your power tools.
  Now you don’t want to put too large a bit on. Something small enough for the water to drain. Otherwise your dirt will fall out and too much water may drain out or something… Here’s a bit that worked. I did not have a banana for scale, but it was somewhere in the /32nds or /8ths.
  Step 5: Drill them holes. (Reminder, you’ve got beer, so you should be sipping along the way.) I made a pattern of sorts.
 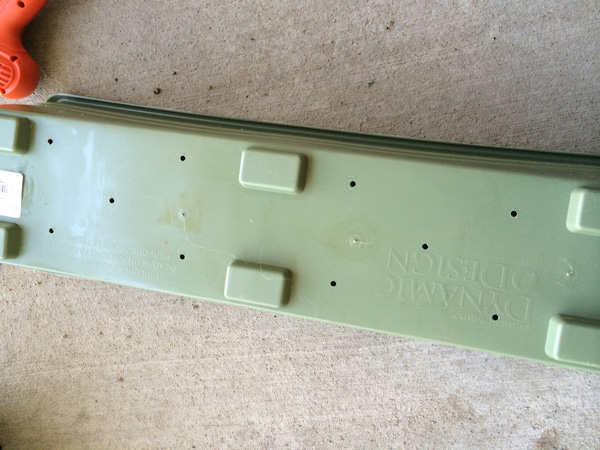 Crap. It wasn’t until I was ready to put in the dirt that I realized these trays had little pockets in them. Water for sure would go there. Oh well, noted for next year.
 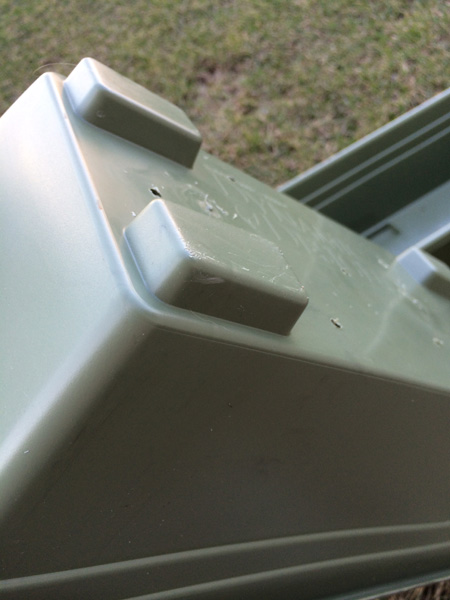 Step 6: Put the dirt in. How much? Well enough so the flowers stick out the top. We can play that by ear when we start putting the flowers in.
  Step 7: Break them flowers out of their containers. Note: this is tougher than it looks. Like really tough. It took me quite awhile to figure this out. I started tearing it up good.
  I found a system that worked. Tearing the sides and then grabbing the base of the plant just at the dirt level and slowly pulling it out. Be careful, you don’t want to rip it from its roots.
  Step 7: Take a break. At this point you realize what you got into and you’ll need a break. Don’t get too anxious or frustrated. Remember, it’s not drag and drop, click, edit or delete. You’re working with nature here. It takes some care and patience. You’re trying to relax and enjoy the outdoors.
Drink some Summer Shandy.
Step 8: Put the plants in the tray. Figure out how many you have, start to eye up the spacing and make some divots in the dirt. Put one plant in the dirt and make sure it’s got some support from the surrounding dirt.
[no pic, my hands were dirty at this point]
Step 9: Ok, one is done. Looks good. 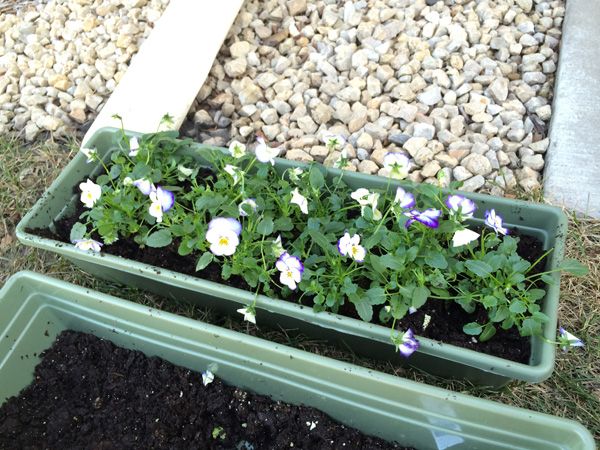 I noticed that the divot idea was not working so quickly, so I made three large divots to see if that would work. At this point I was getting a bit anxious to complete this project.
 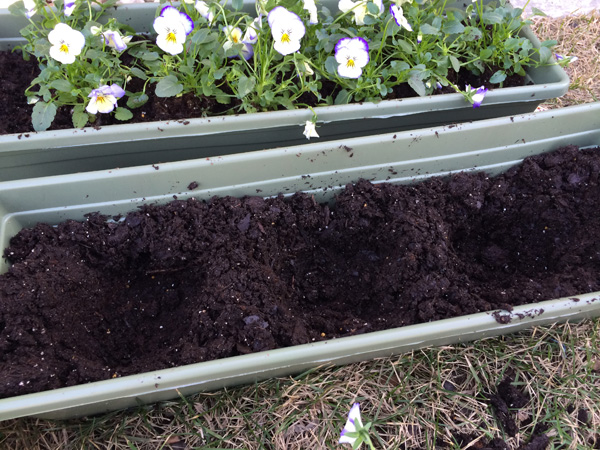 That didn’t work so well. So I went back to individual divots.
Step 10: Hang them up. Fortunately I had spindles to help with the measurement. Just did some quick math to find center. The trays had a quick two piece system that would hang over the edge. You just tighten the nuts and you’re set.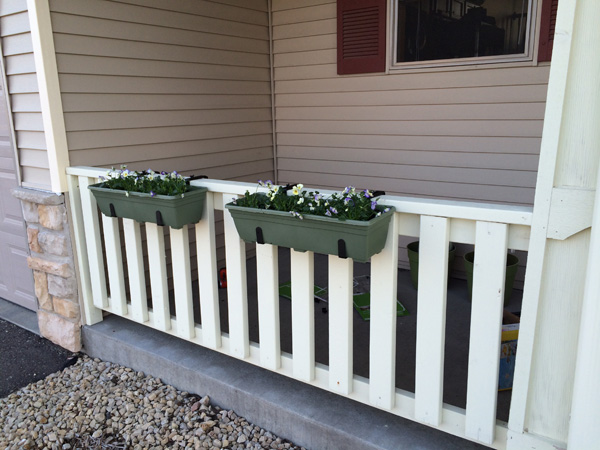 Step 11: Extra flowers. I had extra, so I cleaned out a pot and put them in there. Again, do some math or some layout stuff and plant them. Do it quick though, cause by this point you may just toss them in the trash if you don’t hurry.
 Step 12: But wait! We are not savages. We’re Gordon Ramsey, we gotta make this presentable. Get a paper towel and clean the edge of the pot.
 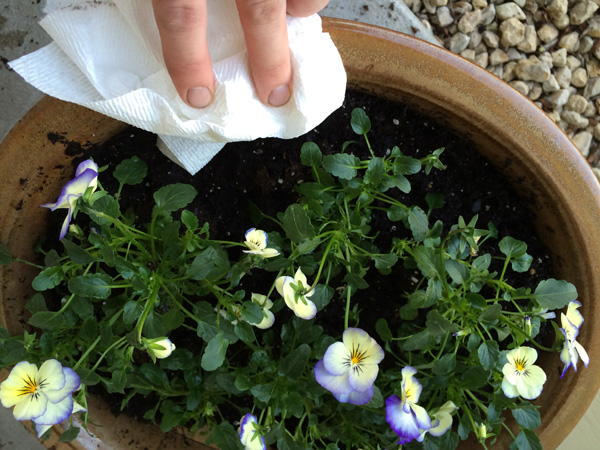 Looks good.
Step 13: Don’t forget to water. You’ll want to pick up one of those spout looking deals, super professional. When neighbors walk by, they’ll think you know what you’re doing. 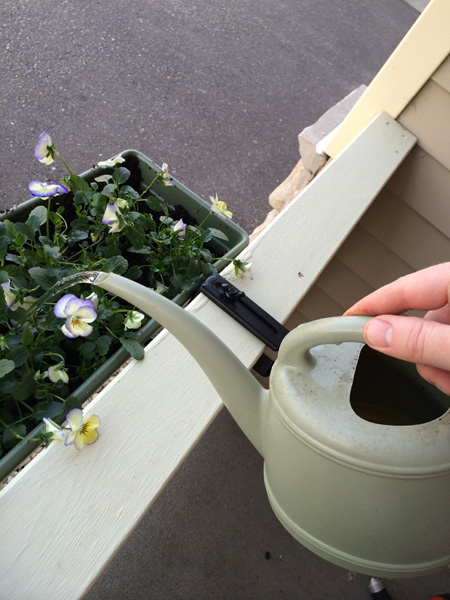 Step 14: Trash. Looks like the plants came with some instructions. You can read those if you want, but hey, we’ve all been to IKEA, we know how this stuff works.
  Step 15: Put your tools away and sweep. I did my work mostly on the yard so I didn’t have a lot of dirt to sweep, but you may have to. Also, if you put your tools away, they’ll be there next time you need them.
  Step 16: Enjoy your work! Grab another Summer Shandy, put on some country music or Bruce Springsteen…hey, it’s nice out, sometimes Mogwai or Crystal Castles is a bit much. You need some good ol’ chillin tunes.
  Don’t waste the summer on that laptop. Get your hands dirty. Whether with dirt, sawdust, clay or a sand castle. It’ll help you be a better designer on the web and reset your brain so that Monday can be awesome. Enjoy the summer kids.


Comments are closed.