

Every day those who are qualified to lead are given the opportunity to do so. It’s an exciting change and a world of responsibility that can alter your workflow. No longer are you responsible for a few projects, but now, you’ve got a team to manage and inspire. However, with this appointment, it can be difficult for many to let go and not try to do all the work themselves.
Enter the challenge: Assigning work to others.
A lot of times we talk ourselves out of delegating the work. We may feel we can do the work better ourselves, that we may not have enough time to explain the project or that we just end up enjoying the work so much, we forget to bring others into the mix. If you’re not careful, at the end of the day, you may find yourself overwhelmed by the work at hand and you can begin to feel unnecessary stress and anxiety of deadlines. So how can you prevent this?
Here are 9 principles to keep in mind to help you better delegate the work and build a stronger team in the process:
1. Create an atmosphere that promotes goals and ways to expand
Make an effort to connect with your team on a regular basis about what leaders are thinking for the future of the business. Be open to new ideas and processes. Encourage your employees to set goals for their work and how they may align them with broader strategic goals for your team or company.
2. Build a trusting relationship with your employees
Have regular one-on-one sessions with your employees. Request that your employee outline beforehand prepared points of discussion such as work to review, quick wins throughout the week and any challenges that you can bring support to. To a reasonable level, use this time to gain a better understanding of how the employee is doing personally outside of work.
3. Set clear expectations for the delegated work
Be sure to communicate what you expect from the work that you delegate. If you don’t level set an expectation, it won’t be met.
4. Have a regular program of training and sharpening skills necessary for the role
There is always a better way of doing things. Don’t let your team or yourself fall into a rut of doing things the way you’ve always done them. This isn’t to say that change is constantly needed, but you should be evaluating the skills necessary to complete your tasks at hand.
5. Buy out time to work with or witness your employees in action
This is key for training and development. When delegating, don’t let your employee silo themselves in the work. Make sure that you are making an effort to witness the work in progress, whether that is attending a meeting that your employee is leading or by simply having them explain to you their thought process and approach to decisions. This is where you can offer advice, coaching and even learn from your employee yourself.
6. Unless the work is suffering, don’t take the work back
Again, it’s easy when you find yourself witnessing the work to be able to overtake a conversation or an idea and run with it. Be careful to let your employee maintain the lead on the project. You don’t want the delegation to turn into a “do what I say and want” situation. You want your employee to be able to learn from their experience, whether the project is a success or not.
7. Have a continual flow of communication – both ways
Ask for progress check-ins or reports, even a quick stop by their work area to get an update on the project. However, be careful not to micro-manage. Make sure your employee knows they can reach out to you whenever they need you.
8. Make sure your employees have all the tools they need to be successful
Put yourself in your employee’s shoes. How would you approach the work? What tools would you need or find useful to get the job done? Don’t expect a decent outcome if your employee is lacking in toolset or understanding of how to use the tools at hand.
9. Evaluate yourself and have your employees evaluate you
Be sure to get feedback from your employees on how you are doing as a leader. What are things that you could improve on to better support them individually and as a team? Be sure to also self-reflect. Look back at your day or week and think of how may have done things differently or not.
At the end of the day we all want the job to be done right and with success. It makes whatever work we do fun and fulfilling. If you ever have the privilege of being a team leader and you want to be successful, you have to train, trust, and empower your employees.
 Step 2: Make a run to your local garden center. I chose Walmart cause it was just down the way. WRONG! I know from my experienced folks that
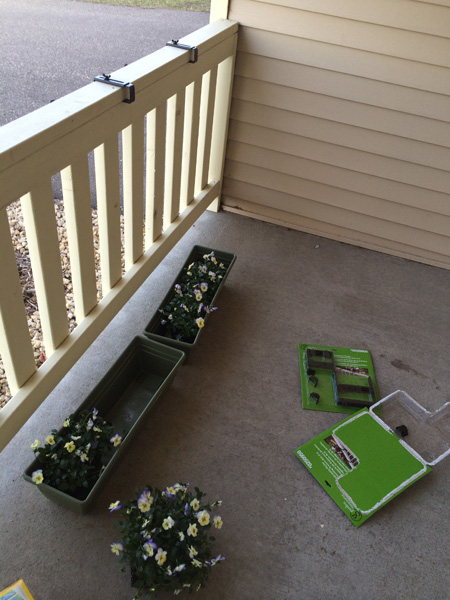
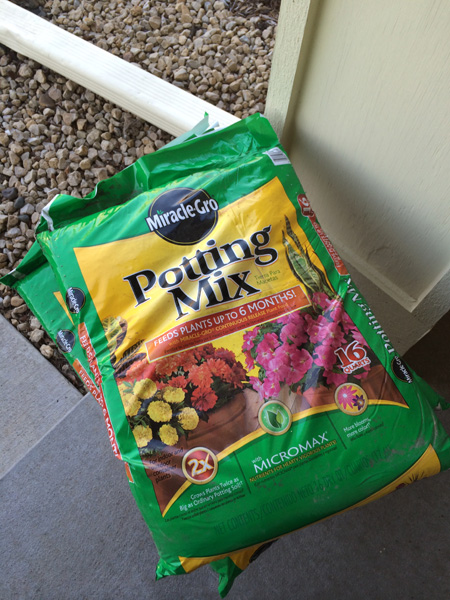 Step 3: Stop and get
  Step 4: Open a Summer Shandy and drink. You have to get in the right frame of mind. Vincent van Gogh did absinthe…
 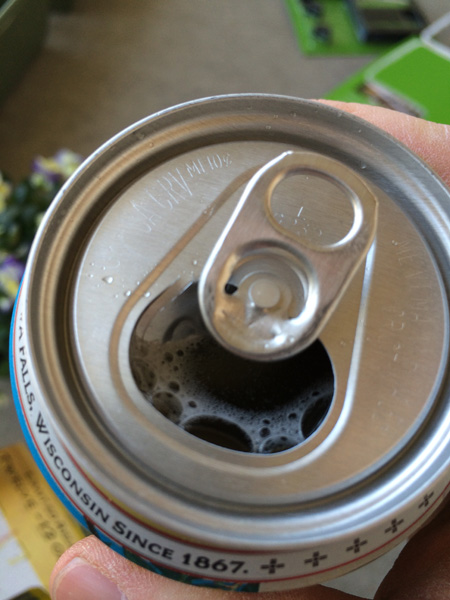 Step 4: Your trays. Now I noticed they didn’t have drain holes. This is important. You don’t want your water sticking around, either it gets used by the plant or it lingers and creates a moldy environment. It’s fact. Look it up.
 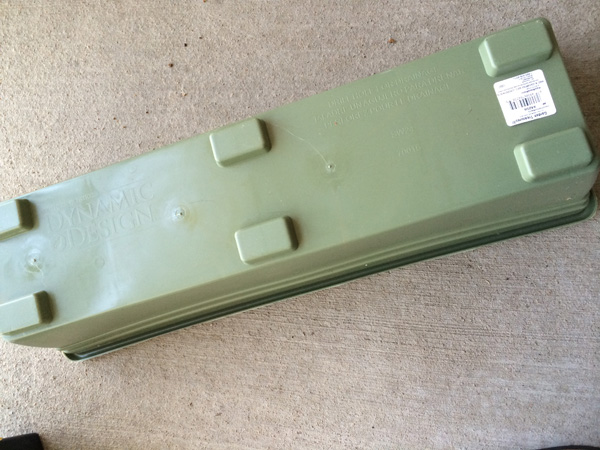 Which is ok, cause that means you can get out your power tools.
 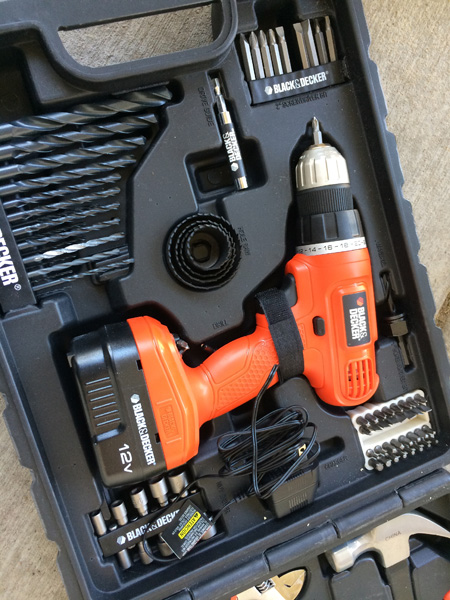 Now you don’t want to put too large a bit on. Something small enough for the water to drain. Otherwise your dirt will fall out and too much water may drain out or something… Here’s a bit that worked. I did not have a banana for scale, but it was somewhere in the /32nds or /8ths.
 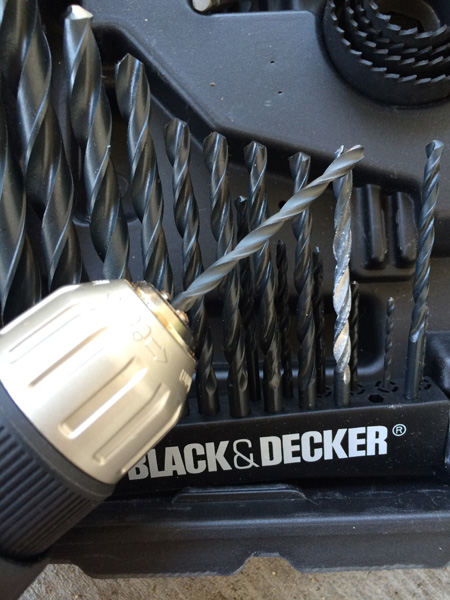 Step 5: Drill them holes. (Reminder, you’ve got beer, so you should be sipping along the way.) I made a pattern of sorts.
 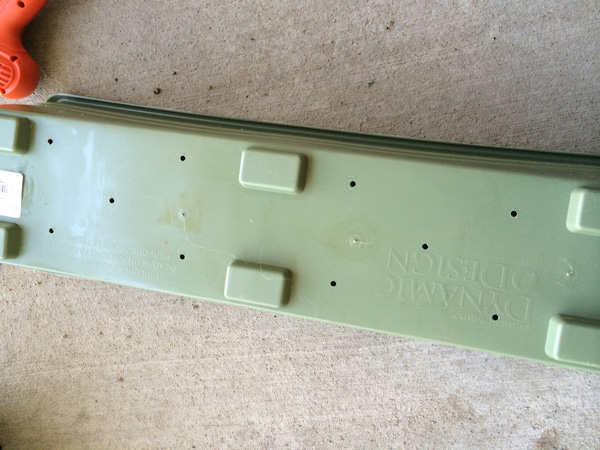 Crap. It wasn’t until I was ready to put in the dirt that I realized these trays had little pockets in them. Water for sure would go there. Oh well, noted for next year.
 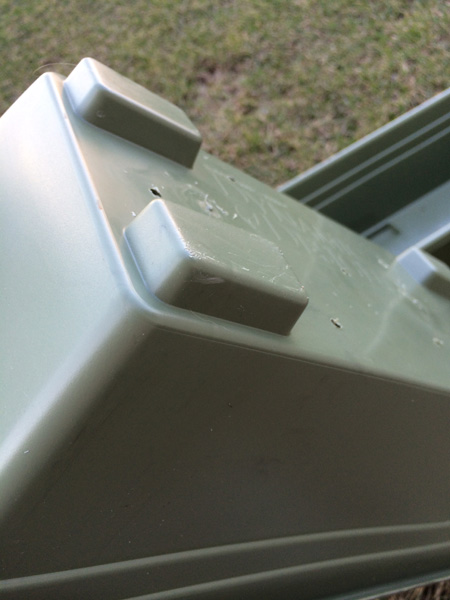 Step 6: Put the dirt in. How much? Well enough so the flowers stick out the top. We can play that by ear when we start putting the flowers in.
 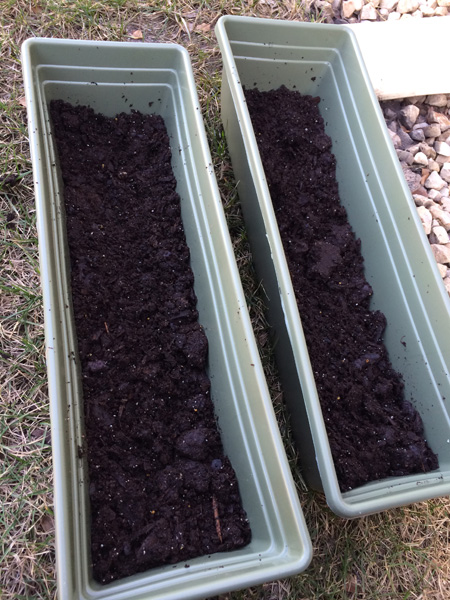 Step 7: Break them flowers out of their containers. Note: this is tougher than it looks. Like really tough. It took me quite awhile to figure this out. I started tearing it up good.
 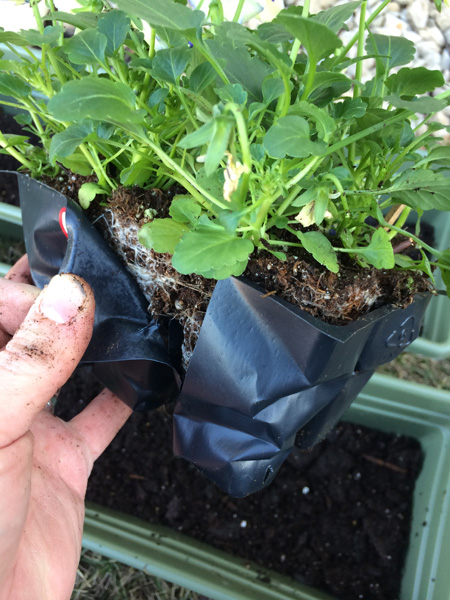 I found a system that worked. Tearing the sides and then grabbing the base of the plant just at the dirt level and slowly pulling it out. Be careful, you don’t want to rip it from its roots.
 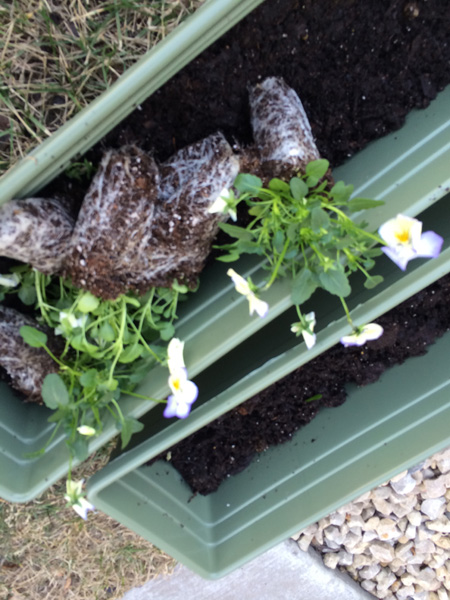 Step 7: Take a break. At this point you realize what you got into and you’ll need a break. Don’t get too anxious or frustrated. Remember, it’s not drag and drop, click, edit or delete. You’re working with nature here. It takes some care and patience. You’re trying to relax and enjoy the outdoors.
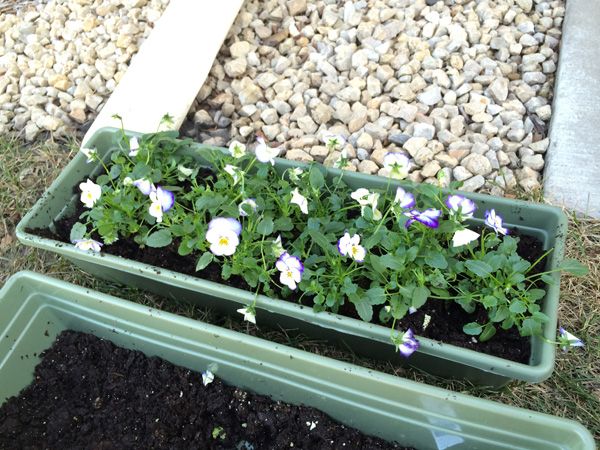 I noticed that the divot idea was not working so quickly, so I made three large divots to see if that would work. At this point I was getting a bit anxious to complete this project.
 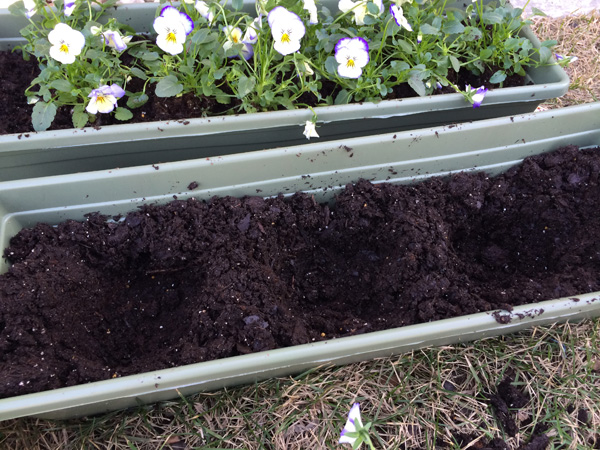 That didn’t work so well. So I went back to individual divots.
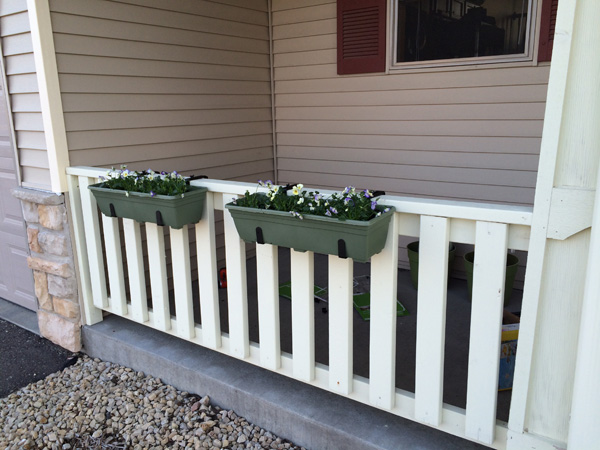 Step 11: Extra flowers. I had extra, so I cleaned out a pot and put them in there. Again, do some math or some layout stuff and plant them. Do it quick though, cause by this point you may just toss them in the trash if you don’t hurry.
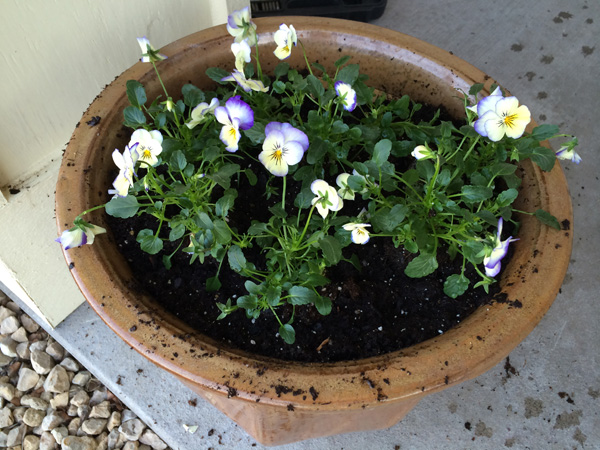 Step 12: But wait! We are not savages. We’re Gordon Ramsey, we gotta make this presentable. Get a paper towel and clean the edge of the pot.
 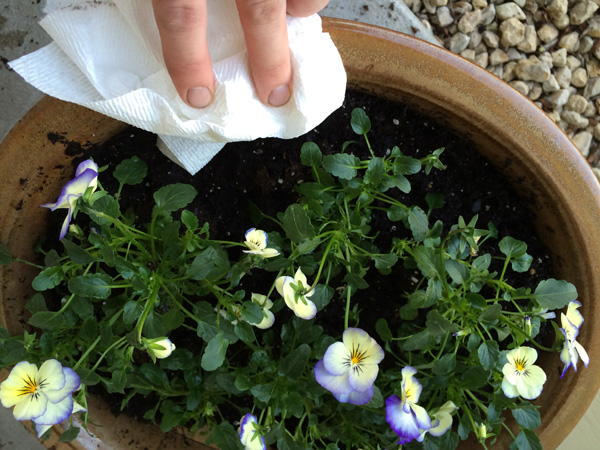 Looks good.
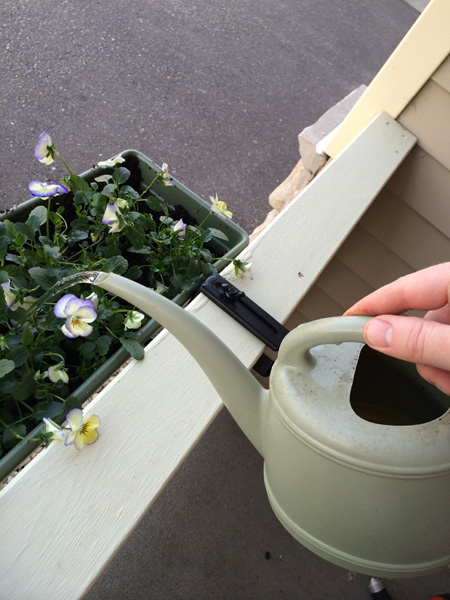 Step 14: Trash. Looks like the plants came with some instructions. You can read those if you want, but hey, we’ve all been to IKEA, we know how this stuff works.
  Step 15: Put your tools away and sweep. I did my work mostly on the yard so I didn’t have a lot of dirt to sweep, but you may have to. Also, if you put your tools away, they’ll be there next time you need them.
 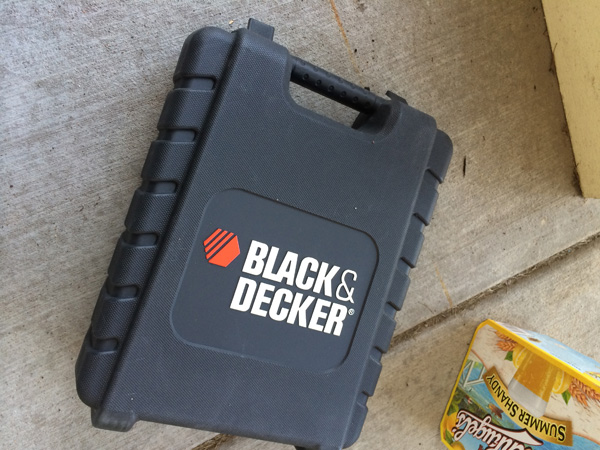 Step 16: Enjoy your work! Grab another Summer Shandy,
 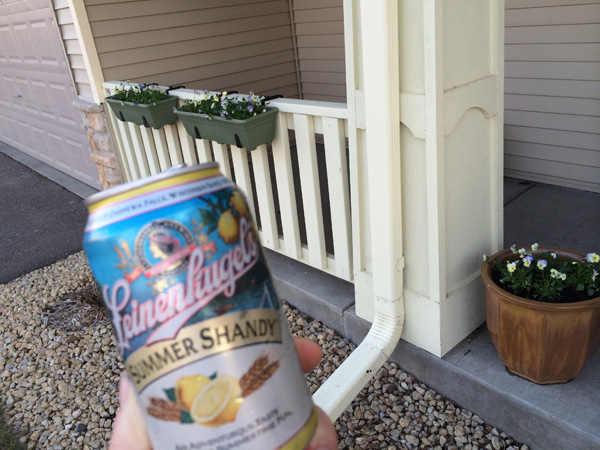 Don’t waste the summer on that laptop. Get your hands dirty. Whether with dirt, sawdust, clay or a sand castle. It’ll help you be a better designer on the web and reset your brain so that Monday can be awesome. Enjoy the summer kids.